
Do you want to make your Looker Studio tables more interactive and user-friendly? Creating text links within tables allows you to transform static data into clickable references, providing your audience with easy access to additional resources or related content.
In this tutorial, I’ll walk you through the steps to create text links in tables in Looker Studio, empowering you to elevate the interactivity and usability of your reports.
Header Outline:
- I. Introduction
- II. Adding URL Fields to Your Data Source
- III. Creating Text Links in Tables
- IV. Testing and Publishing
- V. Conclusion
I. Introduction
Text links in tables provide a convenient way to include clickable elements within your Looker Studio reports. By adding text links, you can enhance interactivity and direct users to external resources, additional information, or related pages.
II. Adding URL Fields to Your Data Source
To create text links in tables, ensure that your data source includes a URL field. This field should contain the URLs or web addresses you want to link to. If your data source doesn’t have a URL field, consider adding one or modifying an existing field to include URLs.
III. Creating Text Links in Tables
A. Using URL Fields
- Open your report in Looker Studio.
- Add a table to your report or select an existing table.
- In the table configuration panel, select the desired dimension or metric cell where you want to add a text link.
- In the properties panel on the right, locate the “URL” section.
- Enable the “Enable URL” option and select the URL field from your data source.
- Save your changes, and the dimension or metric cell will now function as a clickable text link.
B. Using The Hyperlink Function To Add A Link To A Label
- Open your report in Looker Studio
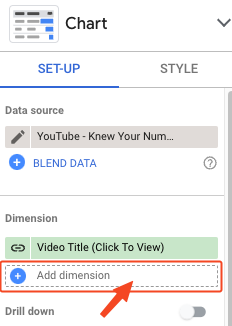
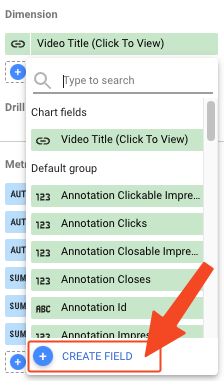
- Add a new Dimension and click on “Create Field”
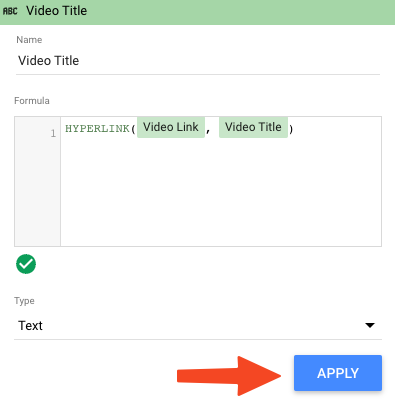
- In the formula bar use the formula bar use the formula “HYPERLINK(URL, Link Label)” without quotes
- Replace the URL with the name of the URL field you want to use
- Replace the “Link Label” with the name of the text field you want to use as a label (for example, Page Title or Video Title)
- Click on “Apply” to apply changes
C. Creating Text Links with Custom Formulas
- Open your report in Looker Studio.
- Add a table to your report or select an existing table.
- In the table configuration panel, select the desired dimension or metric cell where you want to add a text link.
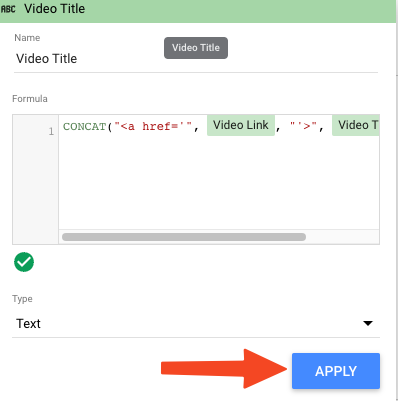
- In the formula bar at the top, create a custom formula using the CONCAT and HYPERLINK functions to generate the text link. For example:
=CONCAT("<a href='", URLField, "'>", LinkText, "</a>"). Replace “URLField” with the field containing the URL and “LinkText” with the desired text for the link. - Apply the formula to the dimension or metric cell, and it will transform into a clickable text link.
D. Customising Text Link Appearance
You can further customise the appearance of your text links in tables by modifying the cell styles, such as font colour, underline, or hover effects. Use the table properties panel to adjust the cell formatting options according to your design preferences.
IV. Testing and Publishing
After creating text links in tables, it’s crucial to test their functionality within your Looker Studio report. Ensure that the links navigate to the intended destinations and that the text link appearance aligns with your desired design.
Once you’re satisfied with the results, publish the report to share it with others.
V. Conclusion
Adding text links in tables enhances interactivity and provides clickable elements within your Looker Studio reports. By following the steps outlined in this guide, you can create text links using URL fields or custom formulas, customise the appearance of the links, and improve the overall user experience of your reports.
Incorporate text links strategically to direct users to relevant.
You can find more detailed information about using hyperlinks in Looker Studio in this Google doc.